Summary
There are easily over a hundred different Rings for players to collect in theirRemnant 2adventures, which is somehow an even bigger catalog of jewelry than the first game,Remnant: From the Ashesoffered the Soulslike community.
It turns out that taking set bonuses off of Armor inRemnant 2and adding two more Ring slots in exchange may have led the developers at Gunfire Games to go a bit overboard with the sheer number of Rings they created to compensate for the changes. Still, among all these options there are plenty that manage to separate themselves from all the other Rings, so let’s go over the ones that players seem to be enjoying the most.

Updated November 25th, 2024 by Jacob Buchalter:Remnant 2 very likely has the metaphorical award (excluding maybe MMORPGS) for ‘game with the most equippable Rings’, and that’s no exaggeration. There truly are hundreds and hundreds of Rings that players can acquire in this game through their multiple escapades through the different Realms offered to them by the Worldstone. In Remnant 2 specifically (the case was a bit different in Remnant: From the Ashes, the previous game) Rings make up a very large percentage of a player’s build, which is exactly why they have 4 separate Ring slots while most games typically have about 2. The third and final DLC for Remnant 2, the Dark Horizon DLC, adds even more Rings, many of which are just absolutely fantastic. So, let’s take another in-depth look at all the Rings players have access to in this game and talk about some of the best overall options.
Ring Effect
Burden of the Gambler
Disables Weakspots. Increases Critical Chance by 10 percent and Critical Damage by 15 percent.

Just about every single one of the rings with the ‘Burden’ moniker is on this list at some point, so it seemed apt to start things off with one. The Burden of the Gambler is one of the Burden Rings that is slept on by the player base. At a glance, this Ring might seem awful, given that it disables Weakspot damage on enemies while equipped, and that’s a huge loss of damage overall.
However, this Ring is actually very useful on any builds that don’t rely heavily on gunfire itself for their damage. For example, on Weapon Mod builds where Weakspot hits don’t really matter, the Burden of the Gambler can do a whole lot. With this Ring equipped, it’s very easy to get to about 100 percent Crit Chance depending on the build, and it’s a good option for players who never really aim for Weakspots in the first place.

Vestige of Power
After 5 seconds of not being damage, increases Ranged and Melee Damage by 10 percent.
The Vestige of Power is a Ring that also isn’t talked about nearly enough, simply because it’s a random world drop Ring and therefore there’s not really a guaranteed way to get it. In fact, when checking our own characters for this list, we noticed we also didn’t have the Ring and subsequently had to run through Yaesha a few times to get it to spawn.

When obtained, however, this Ring is incredible, as it rewards skill-based gameplay with a massive 10 percent damaged buff overall. And, as those who have cleared Remnant 2 at least once are aware, once a build reaches a certain point of power, it’s pretty easy to stay out of harm’s way and avoid taking damage altogether. There’s not much else to say, this is just an incredibly useful Ring overall.
Archer’s Crest
Increases Projectile Speed by 20 percent and decreases Weapon Charge Time by 25 percent
First up is a ring that’s only useful for a specific subset of weapons, but on those weapons it’s incredible. The Archer’s Crest is a Ring that’s meant to make any weapon that has a ‘charge time’ feel a lot better to use whether that’s bows or something a little bit more unexpected.

And, while this Ring is amazing for making the few bow weapons inRemannt 2even better (such as the Royal Hunting Boy or the Crescent Moon) it can also make weapons like the Corrupted Meridian or the Krell Axe a lot more convenient to use as well. Essentially, if a weapon has a charge time, try the Archer’s Crest and if it feels like a weapon’s projectile is a bit difficult to hit enemies with, try the Archer’s Crest.
Anastasija’s Inspiration
Gain Haste for 10s when healing effects are active.
First up is a Ring that’s deceptively more useful than it may appear. At first glance, the effects of Anastasija’s Inspiration might seem very situational, but players don’t realize that this effect is also triggered by Health Regeneration. That’s right, Health Regen counts as ‘Healing’, even if the player’s HP is currently at max, meaning it’s very easy to keep this ring’s effect active 100 percent of the time. And, since Haste has such a great effect, this Ring is always an easy suggestion for friends to use.
Soul Shard
Increase all damage dealt by 5 percent for each Summon. Maxes out at 15 percent.
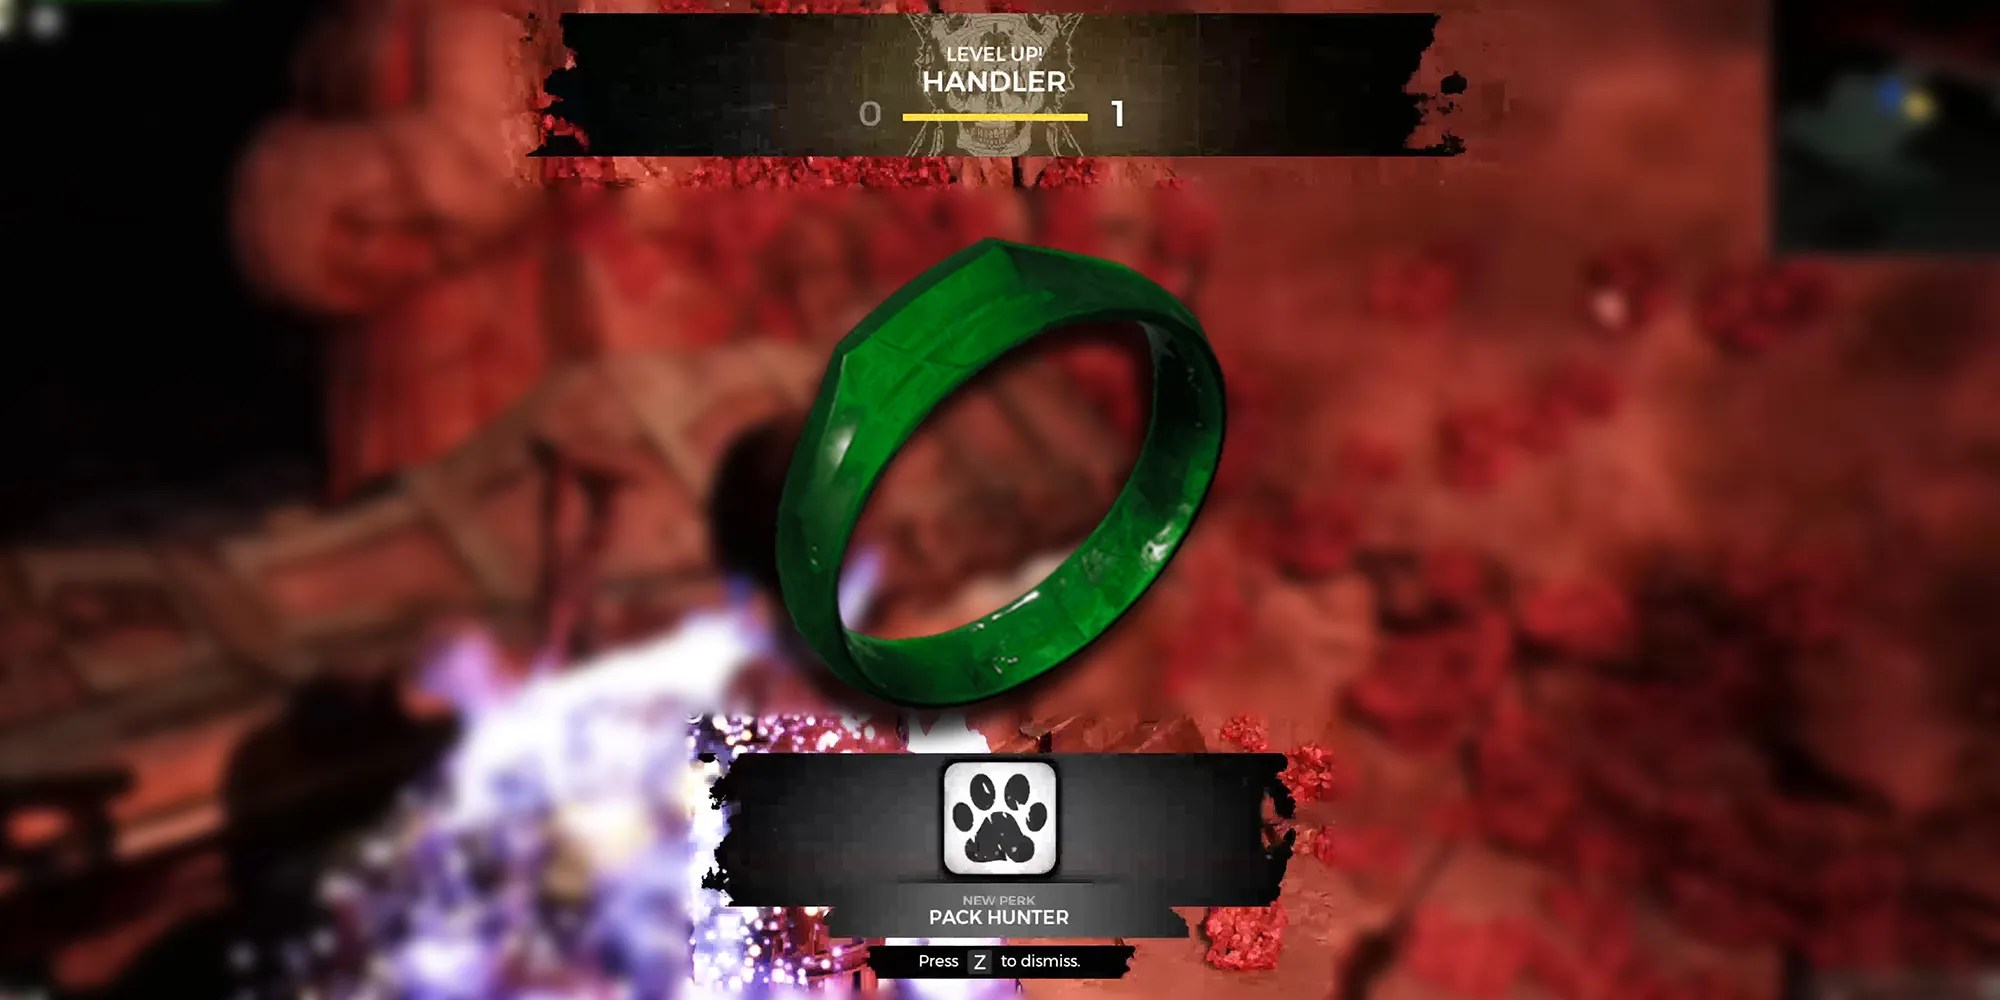
There are a couple of different Rings that are centered around buffing Summons inRemnant 2. Summon-based builds are much more viable in this game than they were inRemnant: From the Ashes, and with the right combination of Rings, Archetypes,and of course, player Traits, a Summon-based build is both a heavy damage dealer and essentially unkillable.

The Soul Shard is another Ring addedalongside the Awakened King DLCout of the 26 total new Rings, but it has to be one of the best of the bunch. Considering how many different things are considered Summons in this game (Rootlash Tentacles, Space Crabs, Handler’s Dog, Summoner’s Root Creatures), the max effect of this Ring will likely be active at all times.
Band Band
Increases Health and Movement Speed when downed by 100 percent. Also increases Revive Speed (both receiving and giving) by 35 percent.
While getting this next Ring can feel a bit overly complicated, especially in public lobbies (since the game has no voice/text chat), it’s well worth all that effort given the Ring’s effect. With the Band Band Ring equipped, reviving an ally mid-boss fight is a lot more doable. And, these effects stack with other revive-based effects such as Revivalist or Captain’s Insignia, meaning a party of three built around this concept can brute force their waythrough an Apocalypse difficulty boss fightjust constantly reviving each other through the tougher moments.

Bisected Ring
The player takes 15 percent more damage from all sources but gets infinite Stamina in exchange.
Worn Admiral’s Ring
The player takes double damage from all sources, but outgoing damage increases by 15 percent.
There’s a very specific reason this entry is a two-in-one, and it’s because both of these rings are great (and not so great) for the same reasons. Both of these Rings are examples of high-risk, high-reward options, as they grant some ‘overpowered effect’, but at the cost of a pretty serious debuff.

So, when used by a seasonedRemnant 2player who can dodge every attack with ease, these Rings will feel like they’re the best in the game. But, when used by the ‘average’ player, these Rings are often nothing more than a hindrance.
Burden of the Destroyer

+15 percent to all damage dealt, -35 percent to Ideal Range of all firearms.
Players are going to notice a lot of the ‘Burden’ Rings on this list, and for good reason, this subset ofRemnant 2rings are almost all amazing. The Burden of the Destroyer, for example, is basically just a damage buff that has a pretty easily ignorable downside (depending on the player’s weapon choice). While equipped, the Burden of the Destroyer gives a 15 percent damage increase to all damage from the player, which is huge.
The tradeoff for this is that the Ideal Range for every weapon that the player uses is now reduced by 25 percent. However, as long as players aren’t only sniping enemies or using close-range weapons from afar, they’re not really going to notice this Ideal Range decrease. However, they will absolutely notice the damage increase,especially so if they’re a Challenger Archetypeuser who’s always up close and personal anyway.
Burden of the Sciolist
Reduces Ammo Reserves by 20 percent. Increases Mod and Skill Damage by 15 percent.
For the most part, any Ring or Amulet in this game that buffs Mod or Skill Damage usually either only does so by a smidge, or does so by a sizeable amount but has some sort of trade-off/condition. In general, players will often find themselves stacking 7-15 percent buffs to their Mod and Skill Damage on top of each other to create their powerful Mod/Skill-focused builds.
And, while the Burden of the Sciolist also has a condition, it’s really not even a noticeable one. Sure, players will notice that they’re running out of ammo a bit quicker, but by the time they obtain this Ring they’ll easily have enough Scrap to always keep Ammo Boxes on hand.
Sagestone
Increases all earned EXP by 10 percent.
With the new Archetype/Class systemRemnant 2introduced, a lot of completionists' time in this game is going to be dedicated togrinding out levels for Archetypes(especially since a new one was added with the Awakened King DLC). For example, to get thebest Relic Fragments to drop, players need to get their Total Archetype Level to at least around 90, which means getting 9 of the 12 different Archetypes to the max level.
Doing this grind without Mudtooth’s Elixir is already tedious enough, but as long as players at least have the Sagestone ring, this process isn’t all that bad and most players will end up getting levels while they’re just exploring andlooking for other itemsinstead of grinding for it.
