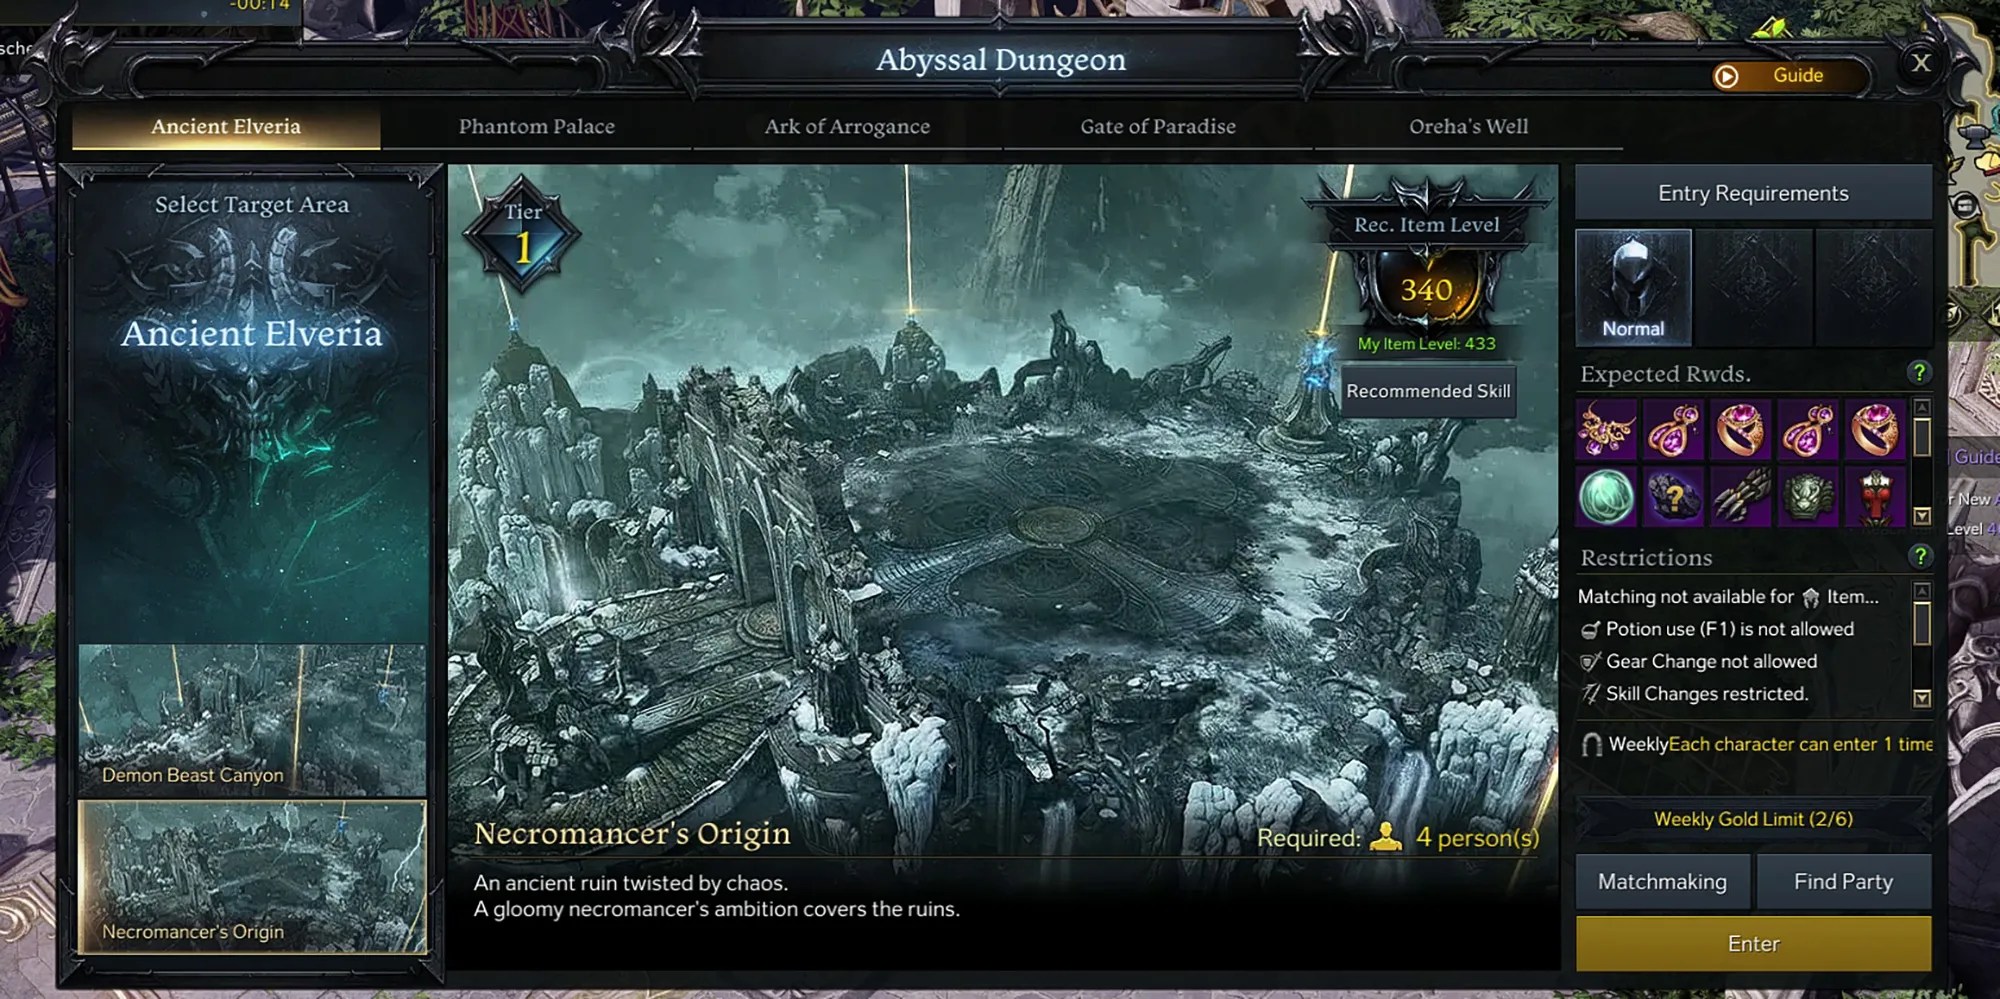
Necromancer’s Originis the second part of the first Abyssal Dungeon inLost Ark,Ancient Elveria. While Demon Beast Canyon is more like a tutorial, Necromancer’s Origin is a better sample of what the Abyssal Dungeons inLost Ark’s endgame are actually like. Players need to, once again, be at minimum 340 Item Level to enter this, and must have completed Demon Beast Canyon as well.
In Necromancer’s Origin, players will finally be having a showdown with Sigmund, the lore-relevant dreaded Necromancer of North Vern. This Dungeon requires more cooperation(hopefully no bots queue up), each boss has more mechanics to memorize, and it’s also the first “wipe” mechanic to get introduced as well. So, without further ado, let’s go over it all.
Quick Guide For Those In A Rush
Unlike Demon Beast Canyon, the Necromancer’s Origin stage of Ancient Elveria actually hasmechanics that players can’t just brute force their way through. Even a Tier 3 player clearing this Abyssaljust for the potential Card Packsstill has to deal with at least one of Sigmund’s mechanics, so let’s go through the most important stuff to keep in mind and then get more in-depth further below.
RELATED:Lost Ark: Best Classes For PVP
First Section: Clearing Out The Undead
Unlike the bombastic start to Demon Beast Canyon where players face off against Garum and fight off undead hordes, Necromancer’s Origin is a bit more tame in its first section.
Players just need to follow the linear path, clear out theUndead Corpses, defeat theCorpse TailorandSoul Devourer,clear out theHigh Necromancerafter going through the double doors, and they’re right at theReanimated Garumfight.

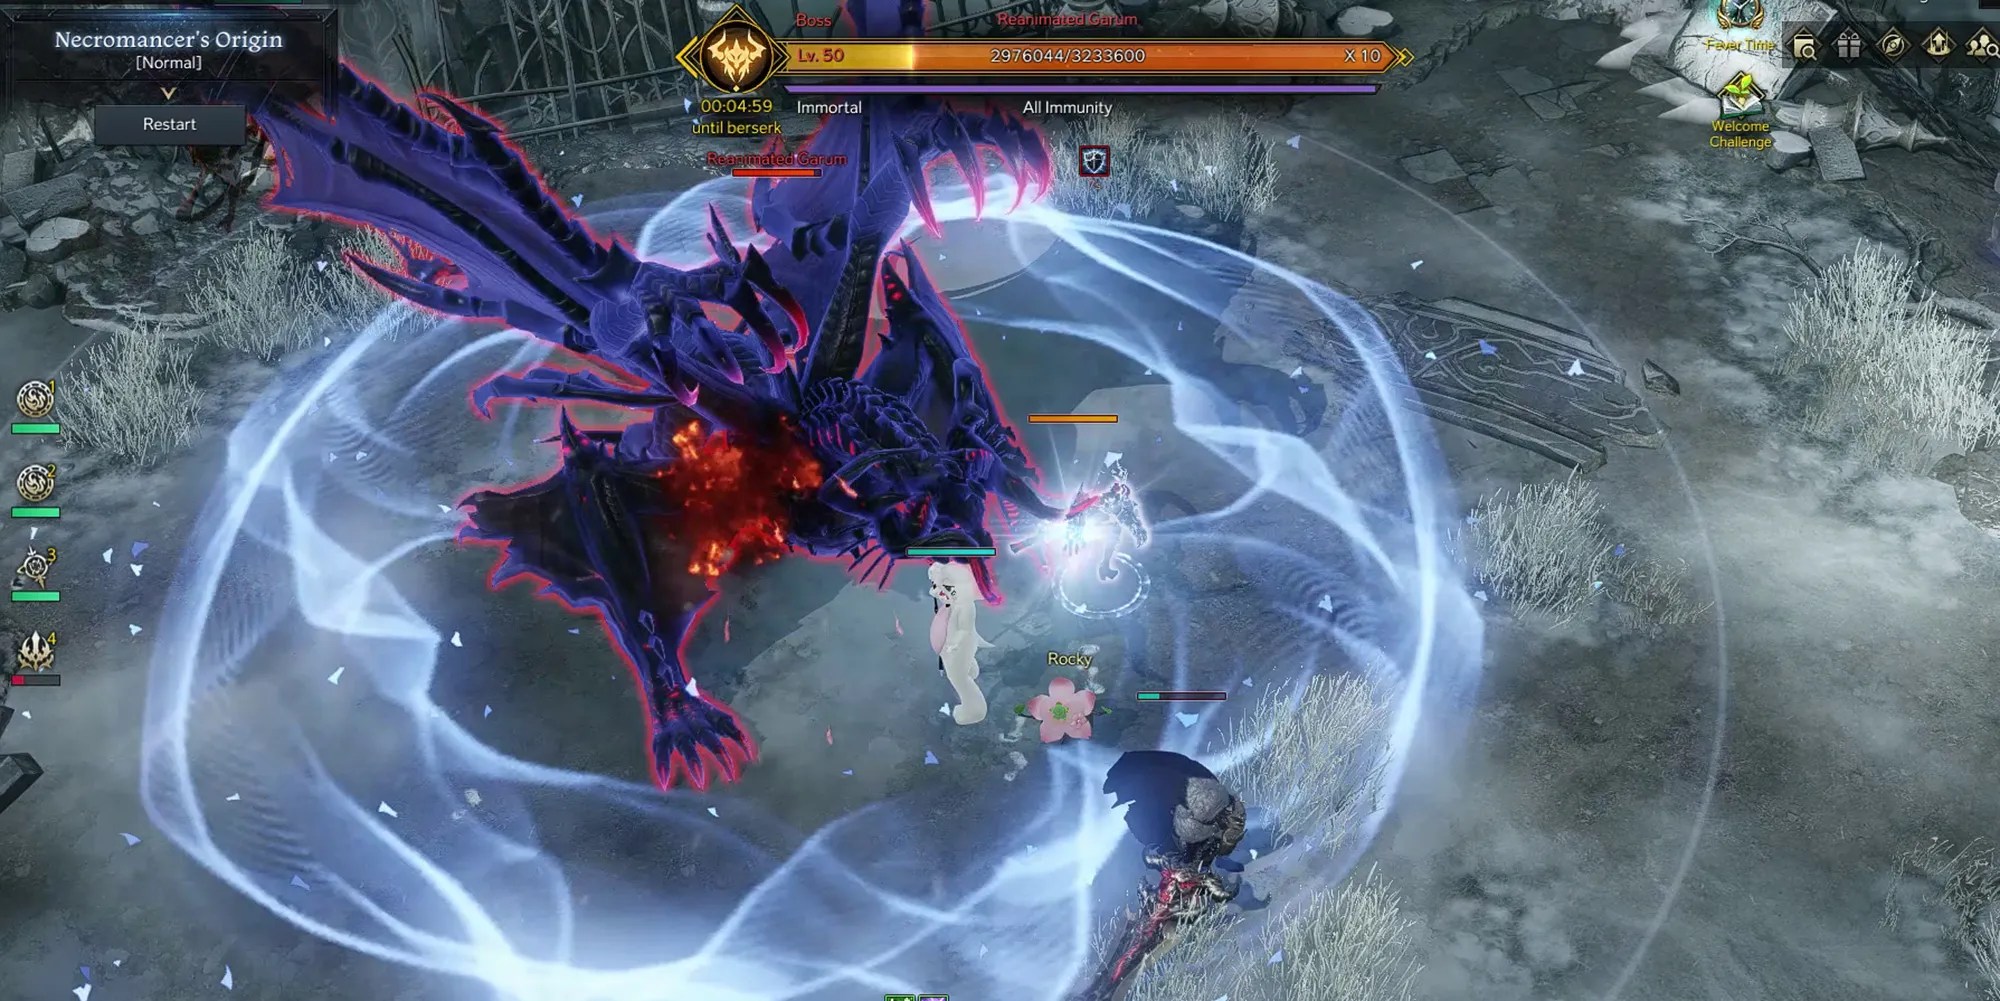
Second Section: Reanimated Garum
Now moving on toReanimated Garum, the gigantic dragon raised from the dead. Outside of Guardians, this is likely one of the first “gigantic” enemies players have faced, and Garum’s size can be a problem at times. This dragon has a lot of conical hit-boxes that are hard to dodge if players get stuck on the Garum’s body. Reanimated Garum also has a Death Mark mechanic that can mean a wipe for the team if players can’t see their Death Mark counter while standing under Garum’s wingsor through their allies' particle effects.
Consequently, melee Classes especially should make it a habit to take a few steps away from Garum in-between damage rotations to make sure they’re not about to pop Death Mark for the whole party or anything like that.
Death Mark
This is Garum’s one “major” mechanic and is alsothe first instance of a"wipe mechanic"that will become ever-present in the coming Abyssal Dungeonsor any ofthe future content that’s on the way. The wayDeath Markworks is that right after the fight begins, Garum starts applying unavoidable stacks of this “Death Mark” debuff on the entire party. This is visualized byGarum roaring toward the sky and releasing a wave of red energy.Every time this happens, players should see thered orbs above their head increase by one.Atfive stacks of this debuffAKA at five orbs, the entire party instantly wipes, though Smilegateseems to be getting rid of more and more wipe mechanics with certain updates.
To avoid this, players need to cleanse this debuff before it reaches five stacks, and there’s only one way to do this.Every time Garum roars and applies one stack of Death Mark, it also summons a Gold Orb somewhere in the arena that can be interacted with.This gold orb is seen on the mini-map, and once a player interacts with it, it cleanses all of their Death Mark stacks and disappears.

RELATED:Best Games To Play If You Loved Lost Ark
Because the next Gold Orb won’t appear until Garum applies another Death Mark stack, players have to be careful not to steal the Gold Orb from another party member that needs it more. Other than this mechanic, Garum is a really simple boss fight. Now, let’s go over all of this dragon’s basic attacks for those who want to master this encounter:
Description
Charge & Swipe
Garum does an incredibly fast forward charge followed by a quick swipe of its claw.
Swipe Combo
This is a three-hit sequence of swipe attacks that come out very slowly, inflict low damage, and cause a bit of stagger on-hit.
Two-Tail Swipe
Reanimated Garum does a quick swipe with its tail that barely does any damage before setting down a red conical telegraph for a second swipe attack that hurts more and inflicts more stagger.
Single Shockwave
The boss slowly charges up a large Shockwave attack, filling a large circular telegraph the entire time. Once this circle is full, Garum releases the Shockwave, dealing moderate damage and knocking players up.
Two Ring Shockwave
Similar to the Single Shockwave attack, the only real differences being that this one comes out a bit quicker, and it has two rings with a safe zone in the middle instead of one large circular telegraph.
Swipe & Slam
The boss does two quick swipes followed by a head slam, which has a small shockwave around it and a secondary larger shockwave after. Players can dodge away from the head slam then get close to Garum to avoid the larger shockwave that radiates outward in a donut-shaped telegraph. This attack also has aCounterwindow as well
Conical Breath Combo
Garum places two cone-shaped telegraphs either directly in-front and behind it or to its left and right. Then, it releases this “breath” or energy wave that knocks players back on hit and does a minor amount of damage. This attack can be repeated up to two more times, and each time Garum can change the direction and increase the size. Because this attack last so long,it’s a perfect time for players to chain some combos together.
Third Section: Destroy The Necromancy Barrier Stone
After killing the already undead Garum, players then take a nice ride on a lift before coming face to face with theNecromancy Barrier Stone. Until they manage to smash this crystal to bits, monsters will keep spawning, so focus entirely on hitting it.
After it’s broken, players face off against an Elite called theCorpse Butcher,theSoul Devourer, and a bunch of monsters raised by Necromancy. Only after all of these mobs have been killed is the party able to access the deepest part of the Sanctum where Sigmund resides.
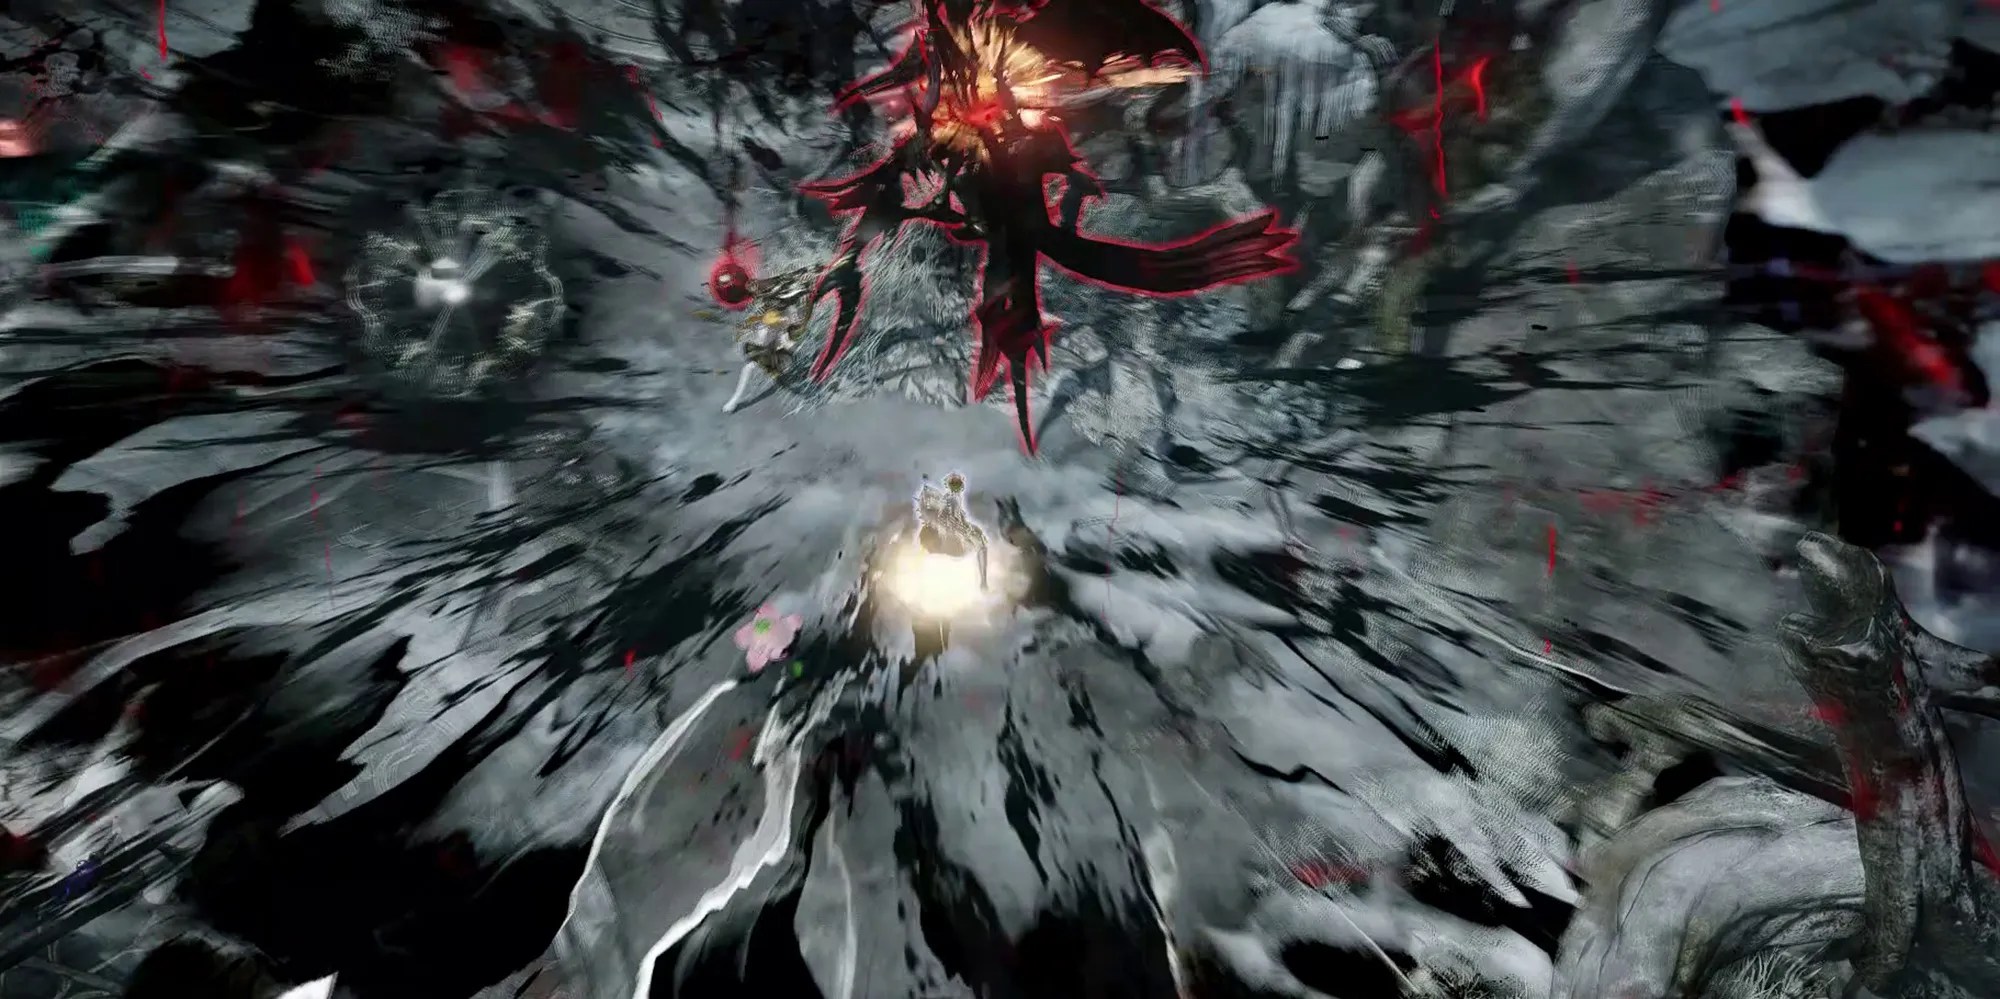
Final Section: Sigmund The Immortal
It’s safe to say thatSigmund the Immortalis the first “real” boss of the Abyssal Dungeons, as this is where the complex mechanics for this branch ofLost Ark’scontent really start to shine. Sigmund isgenuinely a pain to fight and avoids close combat at all costs, just as a mage probably should. He has a variety of teleports, both short and long range, and players are forced to chase him around in order to avoid arena-wide AoEs at times. It’s a fight that both accentuatesthe best and worst parts ofLost Ark’scombat. As for Sigmund’s main mechanics, he has two: hisStagger Checkand hisRevivesystem.
Stagger Check
This is the firstStagger Checkthat players will see in an Abyssal Dungeon, and it’s quite an easy one to pass. Essentially, Sigmund will start filling a red telegraph that covers the entire arena and a yellow bar appears underneath him. Players have until the red telegraph fills to drain this Stagger Check using their Stagger-based abilities. Failure to do so will cause Sigmund to unleash his attack that does high amounts of damage to anyone even close to the recommended Item Level.
Revive System
This is the primary mechanic of the Sigmund boss fight, and thankfully it’s a lot simpler than it first appears. Once Sigmund the Immortal runs out of HP,he’ll release a wave of energy that doesn’t deal damage, and eight energy Orbs will spawn around the arena, four red and four grey.The key here is to pay attention to thecolor of the waveSigmund releases when his HP runs out.
To best combat this mechanic, the party will need to assign cardinal positions before the boss fight or even mid-fight if necessaryif the matchmaking beforehand didn’t work as intended. For example,they can use the party order of 1, 2, 3, and 4 to assign north, east, south, and west.Once these are assigned, this is the direction of the Energy Orb each party member will interact with. Interact with the appropriately colored Orb, and Sigmund should revive after a few seconds. Depending on how many of the correct color of Orb was interacted with, Sigmund may have more or less health to get through.
From this point on, Sigmund does more damage, so take him out again. Once he reaches 0 HP again, he’ll do this Orb mechanic a second time. For each Orb of the wrong color picked or each Orb not interacted with in time, players will have to go through this mechanic an additional time, with Sigmund getting stronger every resurrection. If all four Orbs of the correct color were picked both times, Sigmund will die, and the Abyssal Dungeon will be cleared! And for those who want to know what other attacks Sigmund has as his disposal, here they are:
Jump & Teleport
Sigmund can use three different movement abilities to create space between himself and the party. One is a slight jump, one is a short-range teleport, and the other is a longer range teleport, all of which have very quick animations.
Orb Spin
Essentially just a spin attack, Sigmund makes his red orb spin around him, dealing constant minor damage to any players standing in it.
Orb Shockwave
The boss spins the red Orb he has floating around him in a circle above his head before slamming it on the ground in front of him, creating a small cone of minor damage.
Gigantic Orb Shockwave
A variation of the Orb Shockwave attack where Sigmund creates a much larger red conical telegraph with a longer windup. Usually uses this attack after repositioning.
Sphere Blast
The boss slams his Orb onto the ground and creates four red Energy Spheres that fly in each cardinal direction. He then repeats this attack, with the second wave of Energy Spheres never following the same path as the first wave.
Sphere Meteors
Sigmund sends an Energy Sphere off-screen into the sky. Then, one large Energy Sphere falls on each player, with a red telegraph showing when it will land. One of these four Sphere will also break up into the smaller Energy Spheres on impact.
Leaping Shockwave
Immortal Sigmund makes this large leap towards a random player, creating a safe zone where he eventually lands. Everywhere else but this small circular safe zone is then covered in a red telegraph before Sigmund releases a large Shockwave that deals moderate damage and knocks players back.
Shockwave
Exact same attack as the Leaping Shockwave, but without the Leaping part.
Blood Puddles
The boss summons red telegraphs randomly around the arena that turn into these Blood Puddle environmental hazards after a second. These Blood Puddles last a long time and deal damage to anyone standing in them.
Blood Rain
Sigmund sends a flurry of Blood particles into the sky, then uses another attack or two. After a long duration, these particles fall back down and create small Blood Puddles on impact that last a long time as well.
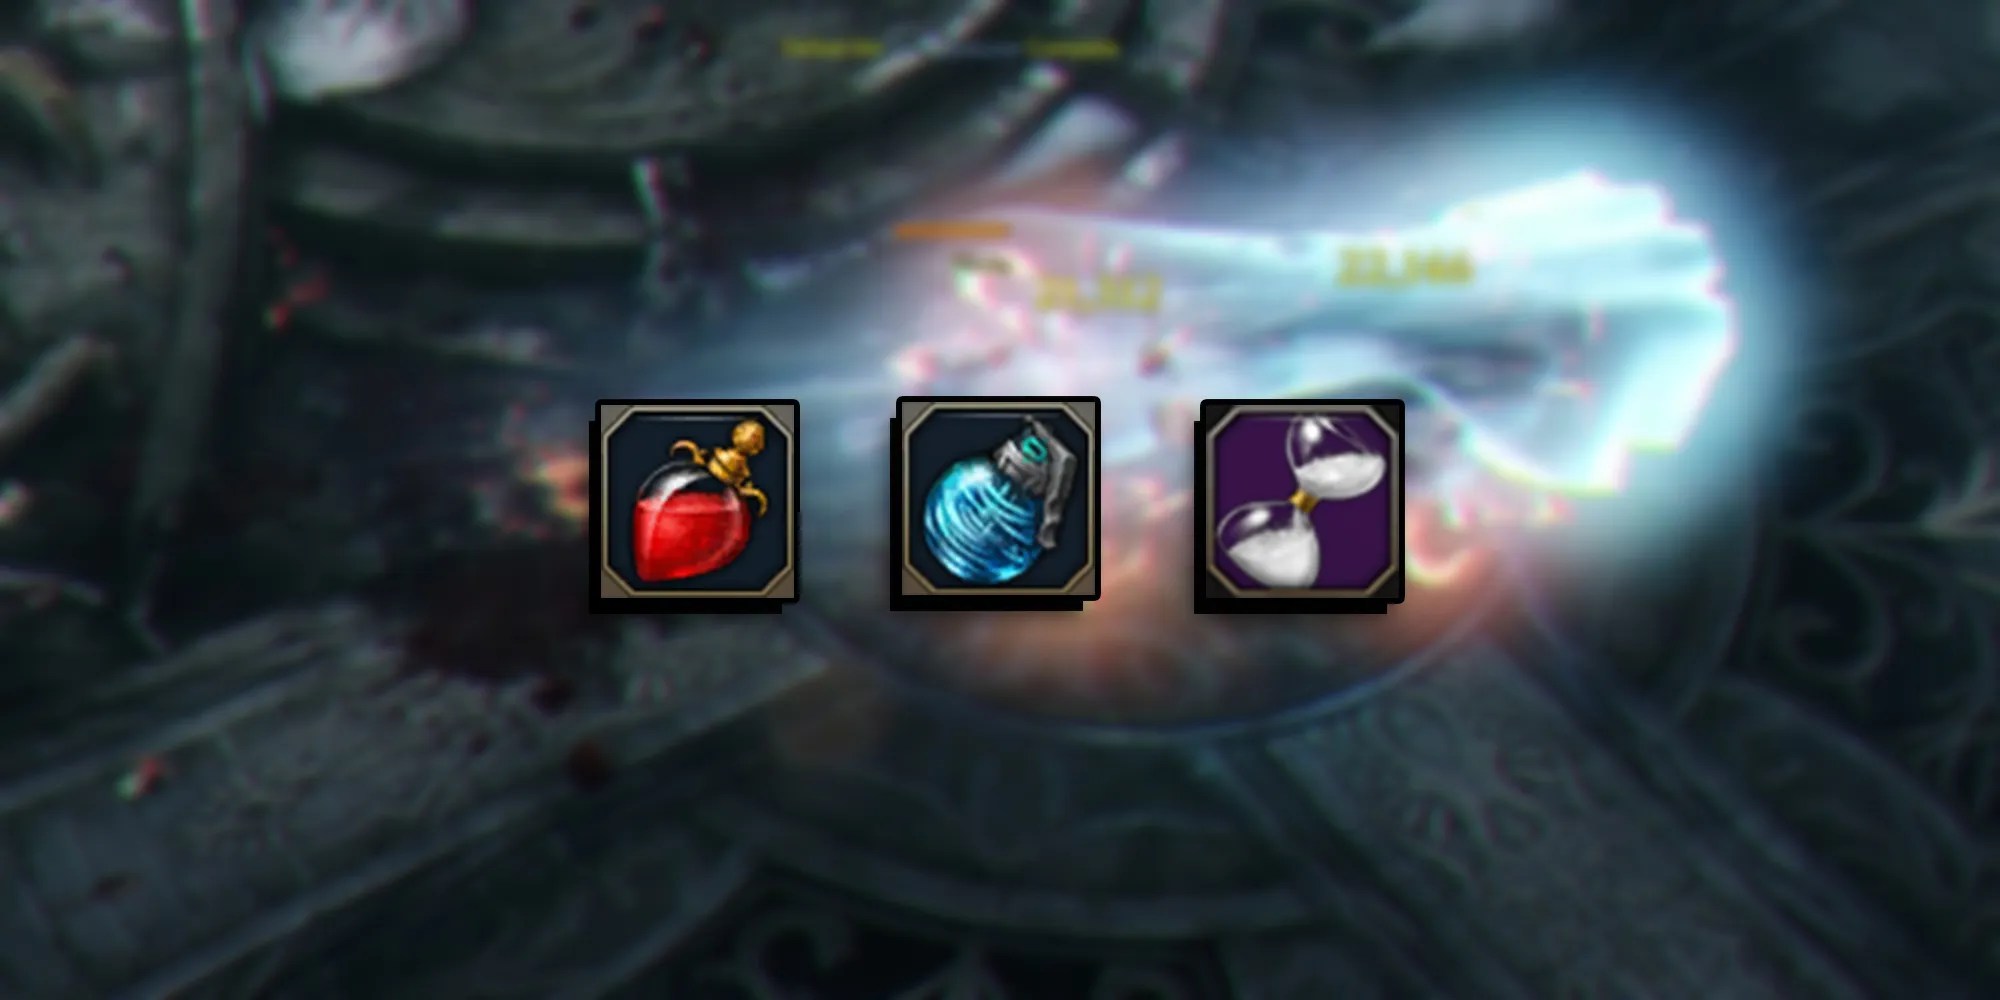
Recommended Consumables & Engravings
Last up,let’s take a look at any recommended Consumablesand Engravings that players should bring or have equipped while dealing with both Reanimated Garum and Immortal Sigmund. To be honest, while Necromancer’s Origin is more complicated than the Dungeon before it, this is still the first Abyssal Dungeon overalland is part of the easier section ofLost Ark’sendgame. Things get much harder as the Abyssal Dungeons continue, and that’s where things like Engravings and Consumables really start to matter.
For now, players can just bring:
Lost Arkwas released on Jun 09, 2025, and is available for PC.
