For a character action game,Hi-Fi Rushactually has quitea lot for the player to do after they’ve beaten it. Usually, these games tend to have one type of collectible and some challenge towers to climb in the post-game.
RELATED:The Best Games With Stripped-Back Visuals
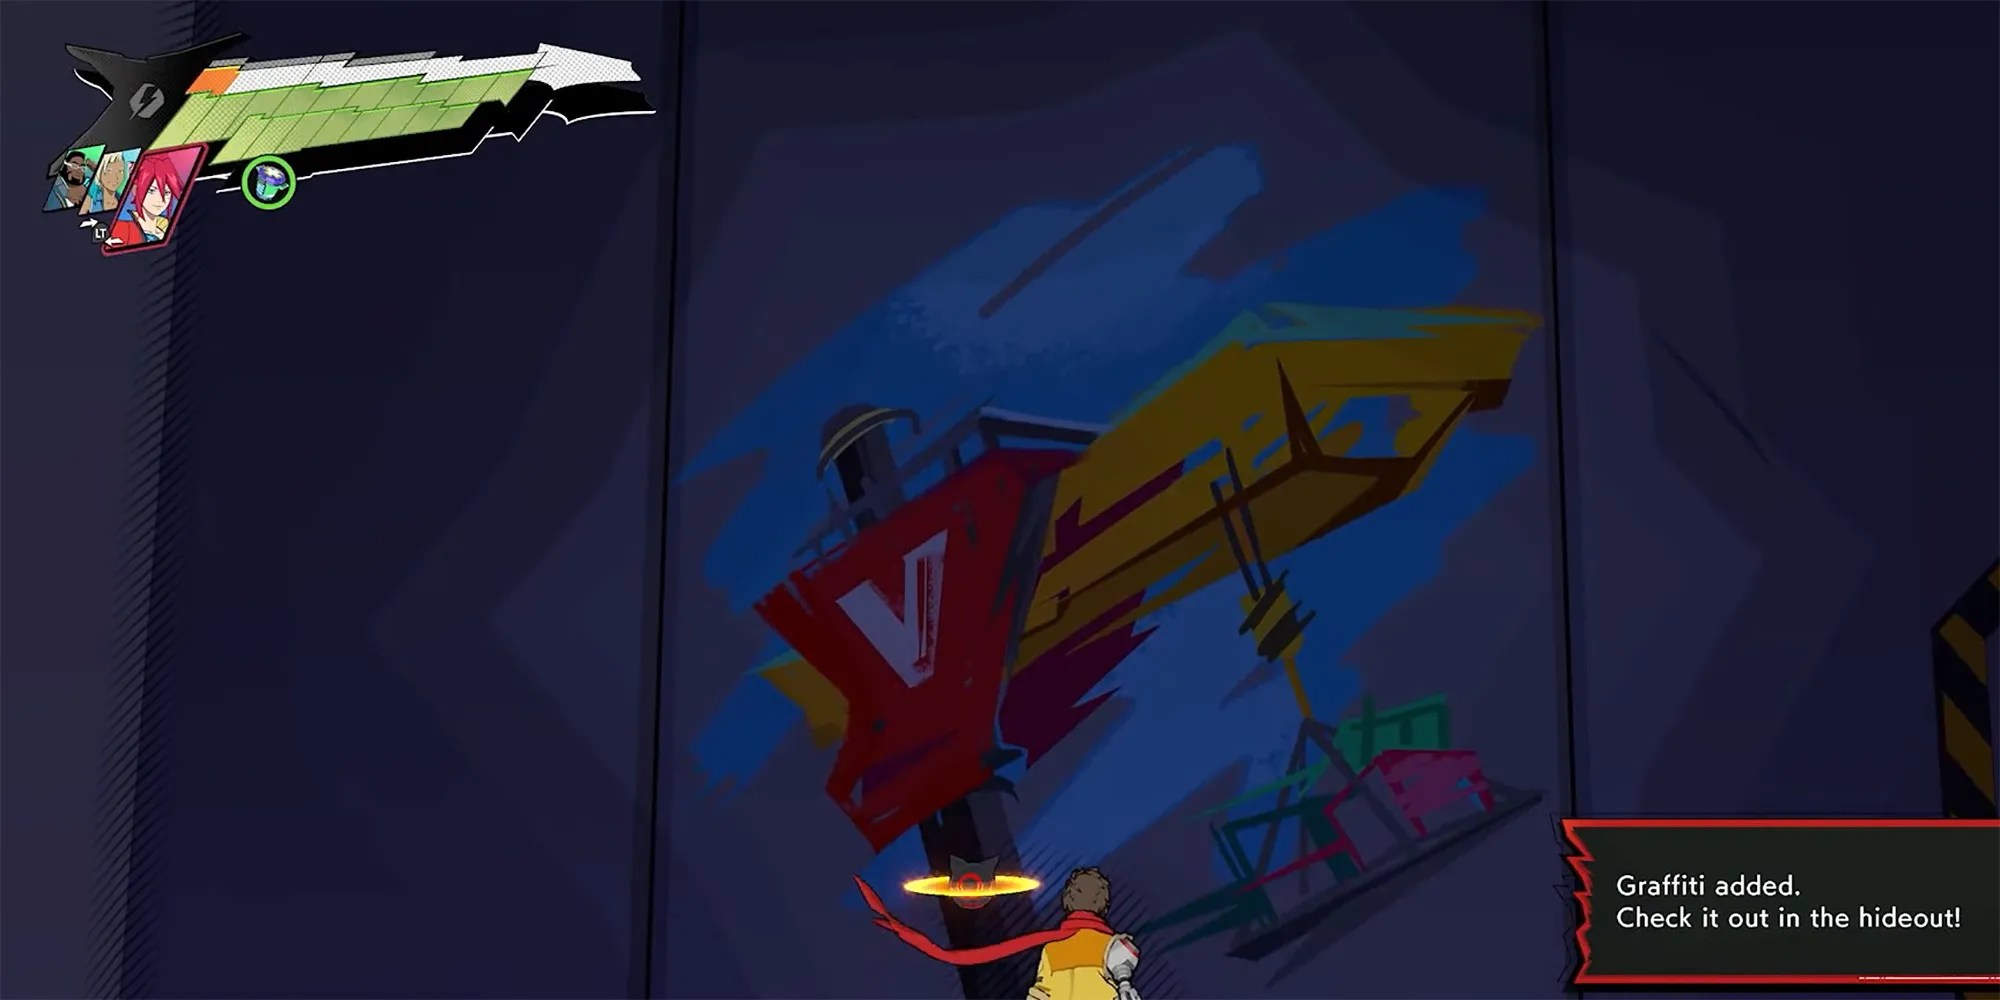
And, whileHi-Fi Rushhas this, it also has more story to present in the post-game,secret Spectra Challenge rooms, multiple types of collectibles, and more. This is extra surprising, givenits shadow-dropped sudden release. And, one specific collectible that players are having trouble finding on their own is the Graffiti spread throughout each level. So, let’s go over their locations, one by one, so Chai can collect them all.
Track 1 - A Fresh Start: Graffiti 1
The first Graffiti is only accessible after the player has brought both Macaron and Korsika onto the team, which meansthis is the first of many collectiblesplayers will have to backtrack for (which maymake a 100 percent speedruna bit difficult). To get it, players will need to:
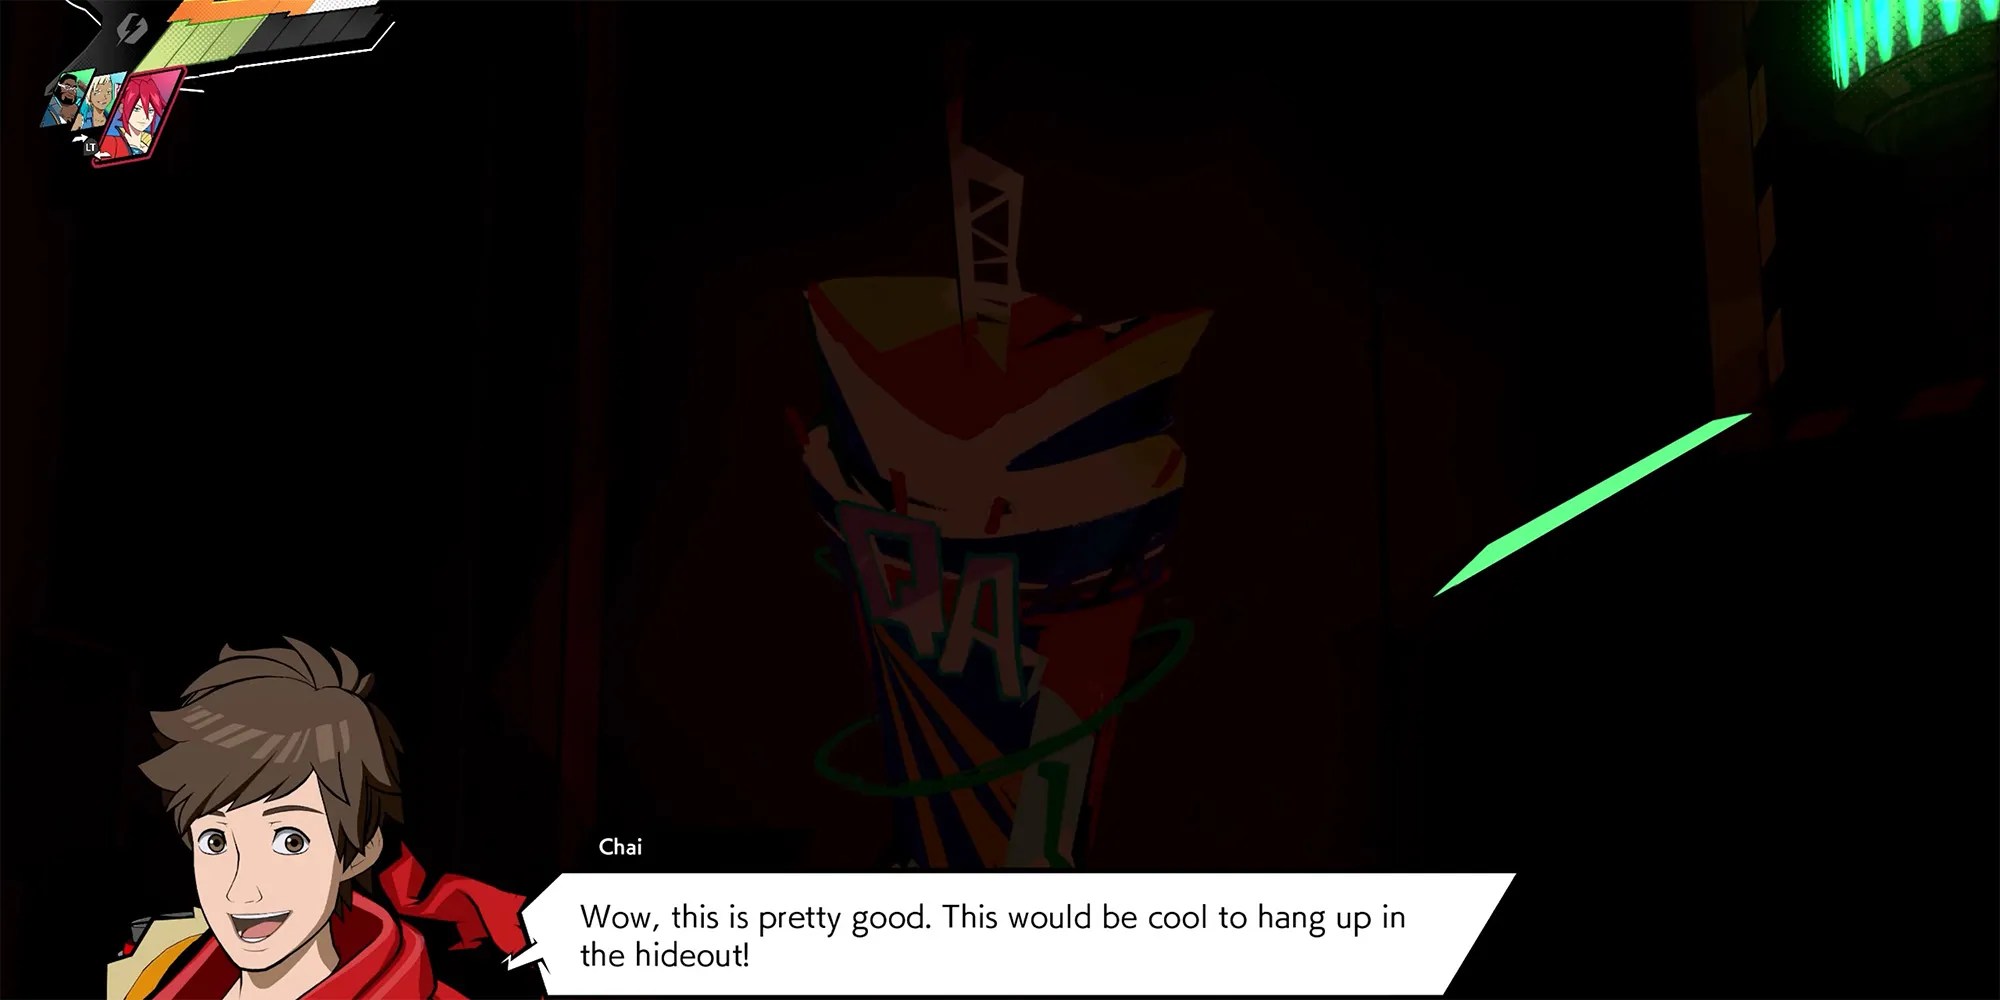
Track 1 - A Fresh Start: Graffiti 2
Near the end of the 1st Track Chai heads into an obvious trap in the QA Check department that Rekka has set. But, before heading through this large entrance, Chai can grab the 2nd Graffiti. To get it:
Track 2 - Power Up: Graffiti 3
Right aroundthe first few minutes of the second Track, Chai will be in an area where smaller storage containers are carried along a conveyer line attached to magnets. In this area, Chai can find the 3rd Graffiti by:
Track 2 - Power Up: Graffiti 4
A bit further into the level, players will see Smidge again ready to give them another tutorial. Continue past Smidge and then:
Track 2 - Power Up: Graffiti 5
The 5th Graffiti is not much farther into the Track and is found not long after players encounter the cleaning robot with the pigeon side task for Chai to complete. After this area, players will need to:
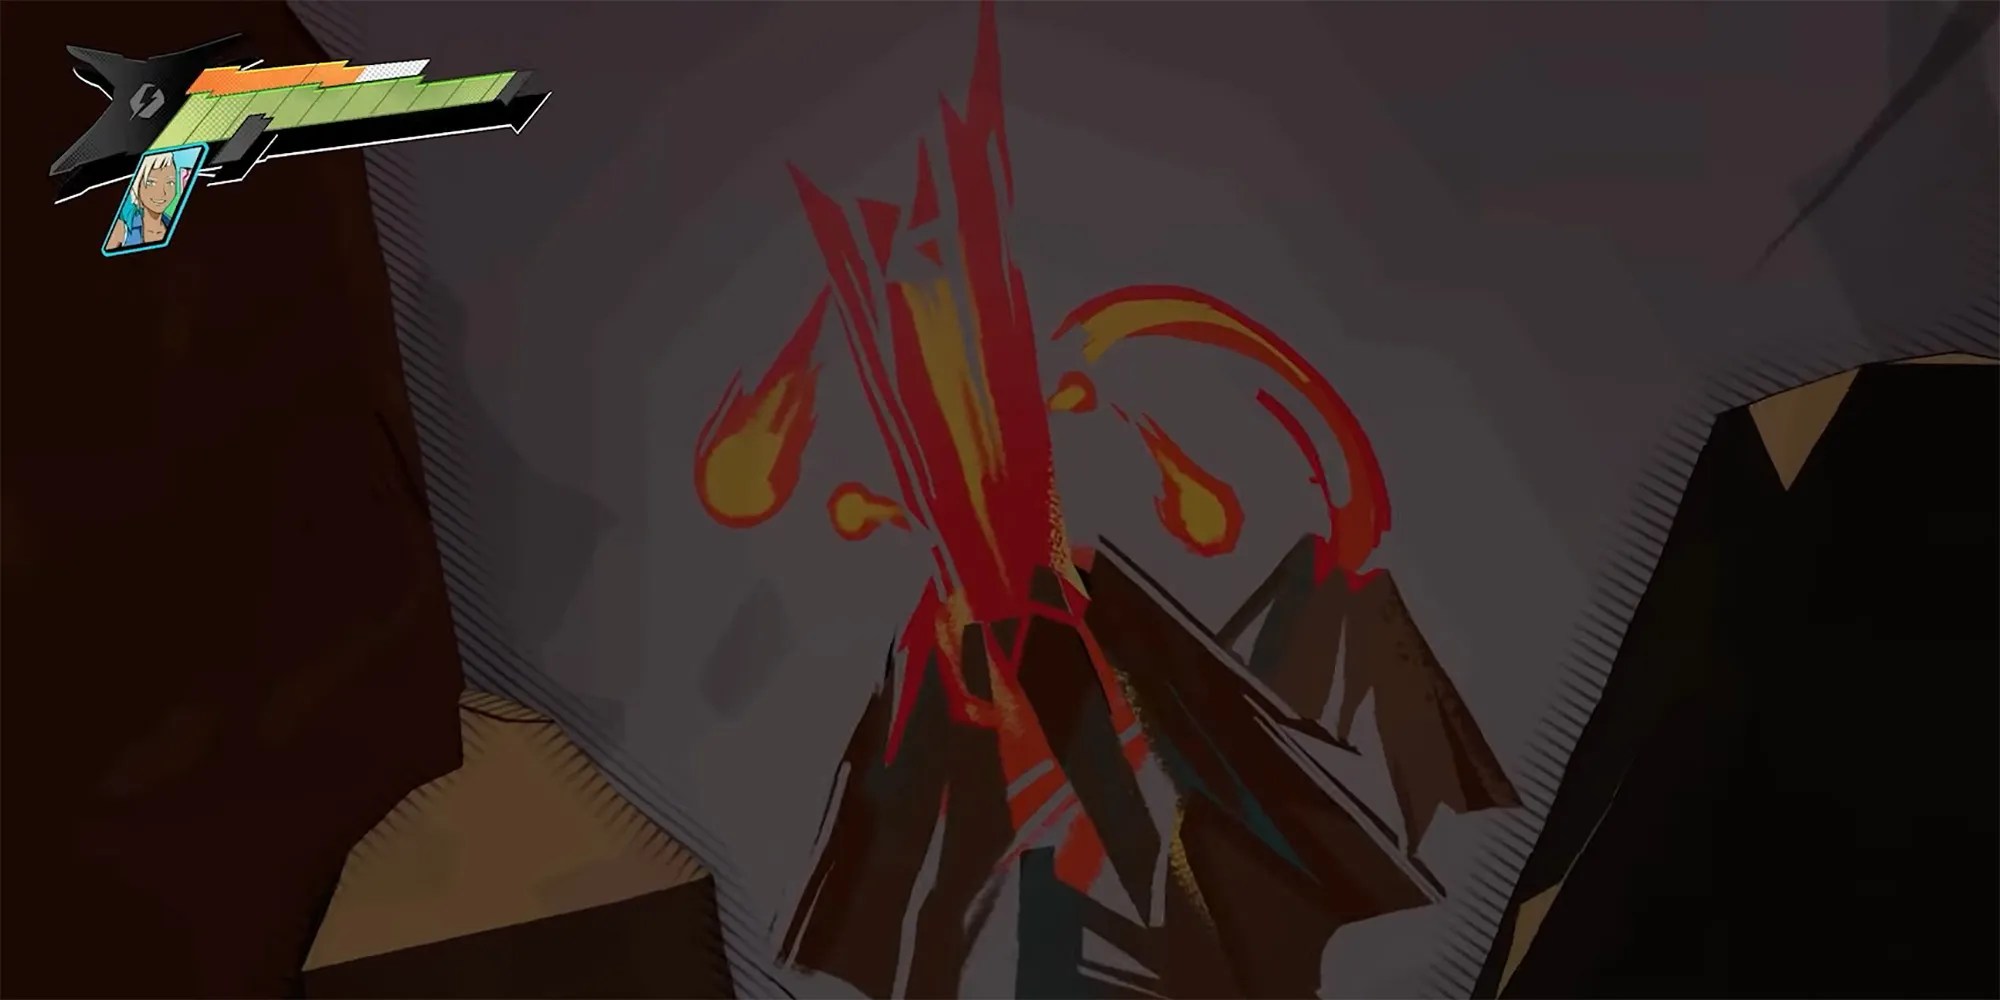
Track 3 - Trial By (Volcanic) Fire: Graffiti 6
Now Chai is in a volcano-type area (withsome extra-catchy beatsin the background) while trying to get to Zanzo, and Graffiti 6 is on the way there. To get to this one, players need to:
Track 3 - Trial By (Volcanic) Fire: Graffiti 7
The second of three Graffiti found on Zanzo’s Track is right near the Research and Development main lobby door.
RELATED:The Best Roguelikes On Xbox Game Pass
To paint a clearer picture, it’s the giant double doors with a courtyard area that has a lava pool on the left and right side covered in a plexi-glass-like material. To get Graffiti 7:
Track 3 - Trial By (Volcanic) Fire: Graffiti 8
The last Graffitito find on this Trackis accessible right around the time Macaron is hinted at as the ‘Hacker’ disrupting Zanzo. After beating the second AR Eyeball mini-boss, players can grab the 8th Graffiti by:
Track 4 - Less Budget, More Problems: Graffiti 9
After both Macaron and his robot companion CNMN have been introduced,Chai will be left on his own’narratively' while Peppermint gets her personality evaluated by CNMN. This dialogue only starts to pop up when players arrive at the area the 9th Graffiti is near, so from here:
Track 4 - Less Budget, More Problems: Graffiti 10
For the next Graffiti, it’s another one that players can tell they’re close to by a specific line of dialogue. Right after Chai beats another AR Eyeball, Peppermint and Macaron will start coming up with a plan to beat Zanzo by tricking him into blowing through his department’s budget (which is justso funny as a concept and very topical). When Peppermint says “Chai! Goad him into throwing something lavish at you”, then the player is very close to the Graffiti. From here:
Track 5 - Breakin' Out: Graffiti 11
During thisincredibly vertical climb of a Track, players should quickly encounter a repairman robot by the name of TEC-78. He’ll be working on one of the broken laser ball connectors and, if talked to enough, will give Chai a side quest for the 10 Drone Packages. Once players meet him:
Track 6 - L.I.F.T Me Up: Graffiti 12
This next Trackstarts right in the hallway to the L.I.F.T platform and has Chai staring right at one of Peppermint’s hacked Vandelay screens. To get it:
Track 7 - The Climb: Graffiti 13
While making the arduous climb to finally reach Koriska’s office, fighting enemies andgrabbing any assorted collectibles along the way, Korsika finally attempts to stop Chai from reaching her. She does this by turning on these security lasers in the final vertical area leading to her office. For those who still aren’t clear on where exactly this is in the Track, it’s right after the cutscene where she says “Alright, I’m putting a stop to this”. After this point:
Track 7 - The Climb: Graffiti 14
Thankfully, Graffiti 14 is pretty close to 13. From Graffiti 13:
Track 7 - The Climb: Graffiti 15
A bit further into this Track Korsika tries to stop Chai even more by turning on some security lasers that are literally impossible for him to get through.
RELATED:Games You Should Play Before You Sleep
To get through these (and find Graffiti 15), Chai needs to go into the nearby room and interact with the console). After this:
Track 8 - A History Lesson: Graffiti 16
Track 8 finally has Chai taking down one of the more annoying bosses in the game, Mimosa. To do this, the gang plans to sneak through a passage in the museum to the stadium her show is in and get rid of her behind the scenes. To get to the Museum, Chai starts out in the courtyard area a little bit away from the Museum itself. In this courtyard area:
Track 8 - A History Lesson: Graffiti 17
Before going into the Museum itself, players should make sure and grab Graffiti 17 (as well asany other collectibles spread around), which can be found by:
Track 8 - A History Lesson: Graffiti 18
The third of four Graffiti found in Mimosa’s Track is found a decent way into the Museum. Basically, once the new fire-centric enemies are introduced by breaking through the hallway windows like they’re dogs inResident Evil 2, players should know they’re close. Keep going forward until Chai and the gang are locked into a room to watch a heavily edited presentation on the background of the company. Directly after this is a room full of televisions that Mimosa will talk to Chai through before a combat encounter starts. After this fight:
Track 8 - A History Lesson: Graffiti 19
The final Museum Graffiti (which, funnily enough, is Graffiti of the Museum itself) isn’t encountered until just after Chai hops across the hanging museum bots near the inner roof of the building.
Track 9 - Take The Stage: Graffiti 20
This one may beone of the easiest collectibles to findand also the one players who missed it will facepalm when they see where it was:
Track 10 - A Masterplan: Graffiti 21
While Track 10 isn’t the last ‘level’ in the game, it’s the final level where Chai can find these Graffiti illustrations, so there are four of them packed into one stage. To get to the first one:
Track 10 - A Masterplan: Graffiti 22
The 22nd Graffiti isn’t encountered until Chai walks out into this open area with the giant Kale statue and the camera ‘zooms in’ on it. Players should notice that in this courtyard area, there’s a Jump+Slam Pad at the end of a red carpet in the middle. To get the Graffiti:
Track 10 - A Masterplan: Graffiti 23
As Chai progressesthrough this absurdly impractical office areawith enough combat encountersto putDevil May Cryto shame, there will be a point where he’ll go into an office before leaving it and having to use a Combo Button to get to the roof of said office. After this:
Track 10 - A Masterplan: Graffiti 24
The final collectible Graffiti (there’s one more that’s ‘given’ as a reward), is found just before Chai enters this empty room with nothing but a singular landline phone in it. For players who want to find this without having to backtrack and do the stage again, these are the double doors Chai encounters after reaching the top of the area with the Kale statue. To get the final Graffiti:
Hi-Fi Rushis available now on PC and Xbox Series X/S.
MORE:The Best New Free Games Added To Steam In January 2023